Sunday, October 21, 2012

Pumpkin Cheesecake Crumble Bars

This amazing recipe recipe came from Mels Kitchen Cafe, She always has the best recipes that are mostly from scratch. YUMMY !! I added a drizzle of caramel sauce to mine partly for presentation but the flavors paired nicely.
 
Pumpkin Cheesecake Crumble Bars
(printable version)
*Makes 16 squares
INGREDIENTS:
Crust:
1 cup all-purpose flour
3/4 cup packed light brown sugar
1/4 teaspoon salt
1/2 cup (1 stick) chilled butter, diced
1 cup pecan halves (about 4 ounces)
3/4 cup old-fashioned or quick rolled oats
Filling:
1 (8-ounce) package cream cheese (light or regular), room temperature
1 1/2 cups canned pure pumpkin (a little less than a full 15-ounce can)
1 cup granulated sugar
1 large egg
1 1/2 teaspoons ground cinnamon
1/2 teaspoon ground ginger

Topping:
2 cups sour cream
4 tablespoons sugar
1/2 teaspoon vanilla extract

DIRECTIONS:
Preheat the oven to 350°F. Lightly coat a 9X13-inch metal baking pan with cooking spray. Set aside. Line a large, rimmed baking sheet with parchment paper or a silicone baking mat. Set aside. Blend the flour, brown sugar, salt, and butter by pulsing (in a blender or food processor) until the texture is like coarse meal. Add the pecans and pulse until the nuts are chipped. Add the oats, and again pulse until the mixture is moistened by not clumping. Press about 3 cups of the crumbs onto the bottom of the prepared 9X13-inch pan. Transfer the remaining crumbs to the lined baking sheet. Bake the crumbs until golden, stirring once, about 8-10 minutes. Cool crumbs. While they cool, bake the crust until golden, about 10-12 minutes. Remove from the oven and set aside while preparing filling. Keep the oven turned on.
For filling, blend all the ingredients in the same blender or food processor (no need to clean it in between) until smooth. Spread the filling over the warm crust and bake until it is slightly firm to the touch and the edges are just slightly risen, about 18-20 minutes. Keep that oven on!
For the topping, whisk all the ingredients together in a bowl. Spread the topping evenly over the hot, baked filling. Bake until the topping sets and bubbles at the edges, about 5-7 minutes. Cool the bars completely in the pan set on a cooling rack. Once cooled, sprinkle the golden crumbs over the topping and gently press them into the topping. Cover the bars and chill until cold, about 2 hours. Cut into squares and serve. I drizzled caramel syrup over the top as a decorative touch it was a perfect addition not that they needed it .

Slow Cooker Cashew Chicken


I decided to try this recipe today since we would be at church for a few hours. It was amazing. It does have a little kick to it so if you don't like a little heat cut down the red pepper flakes . I used salted cashews next time I will use unsalted... other than that I followed the exact recipe using chicken thighs. I will definitely make this again soon. Enjoy
Slow Cooker Cashew Chicken   As seen on Six Sisters Stuff
Ingredients:
2 lbs boneless, skinless chicken thigh tenders or chicken breast tenders*
 
1/4 cup all purpose flour
1/2 tsp black pepper
1 Tbsp canola oil
1/4 cup soy sauce
2 Tbsp rice wine vinegar
2 Tbsp ketchup
1 Tbsp brown sugar
1 garlic clove, minced
1/2 tsp grated fresh ginger
1/4 tsp red pepper flakes
1/2 cup cashews use unsalted if you prefer a lower sodium dish.

Directions:
Combine flour and pepper in large Ziploc bag. Add chicken. Shake to coat with flour mixture. Heat oil in skillet over medium-high heat. Brown chicken about 2 minutes on each side. Place chicken in slow cooker. Combine soy sauce, vinegar, ketchup, sugar, garlic, ginger, and pepper flakes in small bowl; pour over chicken. Cook on LOW for 3 to 4 hours. Add cashews and stir. Serve over rice. Makes 4-6 servings.
If you like sauce and want to have some to pour over the chicken and the rice, double the sauce ingredients. I definitely chose to go this route.

Monday, August 6, 2012

Berry Hand Pies


 These Hand Pies were easy to make ....they will be a great addition to school lunches this fall. I found the recipe on King Arthur's Flour website.. Enjoy !!


Blueberry Hand Pies

(Printable Version)
 
These sweet and fruit-full pastries can be served anytime and anywhere, thanks to their convenient portability.

Pastry
2 cups All Purpose Flour
1/2 teaspoon salt
1/2 teaspoon baking powder
1 cup (16 tablespoons) cold unsalted butter
1/2 cup cold sour cream

Filling
2 cups blueberries, fresh or frozen
1/4 cup sugar
1 tablespoon Instant ClearJel
2 teaspoons lemon juiceTopping

1 large egg, beaten
white sparkling sugar, for garnish

Directions
1) To make the dough: Whisk together the flour, salt, and baking powder. Add the butter, working it in to make a coarse/crumbly mixture. Leave most of the butter in large, pea-sized pieces.
2) Stir in the sour cream; the dough won't be cohesive. Turn it out onto a floured work surface, and bring it together with a few quick kneads.
3) Pat the dough into a rough log, and roll it into an 8" x 10" rectangle. Dust both sides of the dough with flour, and starting with a shorter end, fold it in three like a business letter.
4) Flip the dough over, give it a 90° turn on your work surface, and roll it again into an 8" x 10" rectangle. Fold it in three again.
5) Wrap the dough, and chill for at least 30 minutes before using.
6) To make the filling: Combine all the ingredients in a saucepan set over medium heat. Cook until the mixture starts to thicken, about 5 minutes. Transfer the cooked berries to a bowl and let cool to room temperature.
7) Preheat the oven to 425°F; place a rack on the middle shelf. Line a baking sheet with parchment paper.
8) To assemble the pies: Roll the dough into a 14" x 14" square. With a straight edge and pastry wheel, or a 3 1/2" square cutter, cut out sixteen 3 1/2" squares.
9) Divide the filling among eight of the squares, using about a heaping tablespoon for each. Brush some of the beaten egg along the edges of each filled square.
10) Cut a vent into the each of the remaining eight squares, using a decorative cutter of your choice.
11) Top each filled square with a vented square, and press along the edges with the tines of a fork or a pie crust crimper to seal.
12) Brush the top of each pie with the remaining beaten egg, and sprinkle with sparkling sugar. Transfer the pies to the prepared baking sheet.
13) Bake the pies for 18 to 20 minutes. Remove them from the oven, and let cool for 20 minutes before serving.
Yield: 8 hand pies.


Sunday, July 8, 2012

Raspberry Bread Pudding


I had this yummy treat at a ward relief society function, I begged for the recipe immediately. My  friend Stacy was awesome and shared.

This is a great recipe that you can use with any type of berry.
The picture above I used a mixture of raspberries, blackberries and blueberries.
It's a great brunch item as well. Enjoy...............we sure did.

KNEADERS RASPBERRY BREAD PUDDING

  • 1 1/2 loaves aged, white bread ( I used regular french bread)
  • 1 qt. heavy cream
  • 3 C. sugar
  • 2 eggs
  • 1 tsp. vanilla
  • 5 C. raspberries, fresh or frozen
  • 1 C. sugar
  • 1/2 C. apple juice
In a large bowl mix the cream, sugar, egg and vanilla.
Cut bread into 1 1/2 inch cubes and add to cream mixture, coating the bread well.
Let stand 30 minutes, stirring every 5 minutes to allow cream to absorb.
Mix the raspberries, sugar and apple juice, stirring until sugar is dissolved.
Layer a 9x13 inch baking pan 3/4 full with the bread mix and pour fruit filling over the bread mix, spreading evenly.
Top with the remaining bread.
Bake 50 minutes at 375.
Serve warm topped with vanilla cream sauce.
(If you want it to cut into nice squares you can chill it and then cut it into squares, then microwave it for 20-25 seconds per piece and top with sauce.)

Vanilla Cream Sauce
  • 1 1/3 C. butter
  • 5 T. flour
  • 3 C. heavy cream
  • 1/2 tsp. salt
  • 2 tsp vanilla
  • 2/3 C. sugar
Melt butter in medium saucepan and add flour. Stir 10 minutes until it has a nutty aroma, do not brown. Add salt, cream and sugar until mix is thick. Remove from heat and stir in vanilla. Serve warm over the pudding.


Thursday, July 5, 2012

Pioneer Woman Baked Beans


This recipe has become my goto recipe for baked beans. The flavor is amazing and sure to please any crowd. I found this recipe on the Pioneer Woman recipe site. Try this one for sure. You won't be disappointed.


Quick Southern-Style Baked Beans
(printable version )
recipe by Pam Anderson
Serves up to 18
8 slices bacon, halved
1 medium onion, cut into small dice
1/2 medium green pepper, cut into small dice
3 large cans (28 ounces each) pork and beans
3/4 cup barbecue sauce
1/2 cup brown sugar
1/4 cup distilled or cider vinegar
2 teaspoons dry mustard or 2 tablespoons Dijon
Adjust oven rack to lower-middle position and heat oven to 325 degrees. Fry bacon in large, deep sauté pan skillet until bacon has partially cooked and released about 1/4 cup drippings. Remove bacon from pan and drain on paper towels. Add onions and peppers to drippings in pan and sauté until tender, about 5 minutes. Add beans and remaining ingredients bring to a simmer. (If skillet is not large enough, add beans and heat to a simmer then transfer to a large bowl and stir in remaining ingredients). Pour flavored beans into a greased 13-by 9-inch (or similar size) ovenproof pan. Top with bacon, then bake until beans are bubbly and sauce is the consistency of pancake syrup, about 2 hours. Let stand to thicken slightly and serve


Monday, July 2, 2012

Ritzy Parmesan Chicken


This recipe is definitely one we use around our house. The kids enjoy it and it pairs nicely with mashed potatoes or with pasta and a marinara sauce for more of an Italian flair. I opted for the mashed potatoes for our Sunday dinner and made a chicken/milk gravy to go with it. It was a great combination. This is definitely a comfort food type meal.

Ritzy Parmesan Chicken 
(print this)

1 to 2 pounds boneless, skinless chicken breasts ....I cut breasts in half like a cutlet
1 sleeve Ritz crackers, crushed
1/4 cup parmesan cheese (the kind in the green can) can use freshly grated Parmesan if preferred
1 cup Buttermilk 
4 tablespoons butter or margarine, melted
2 tablespoons parsley
Put the Ritz crackers in a plastic ziploc bag and finely crush with a rolling pin. Add cheese and parsley to the bag and mix well. Dip chicken pieces in the buttermilk and then in the crumb mixture. Place chicken in a sprayed casserole dish, drizzle melted butter over the chicken.
Bake  in preheated 375 degree oven for 35 to 45 minutes until chicken is done inside.
Makes 4 servings

Sunday, June 24, 2012

Teriyaki Chicken and Fried Rice


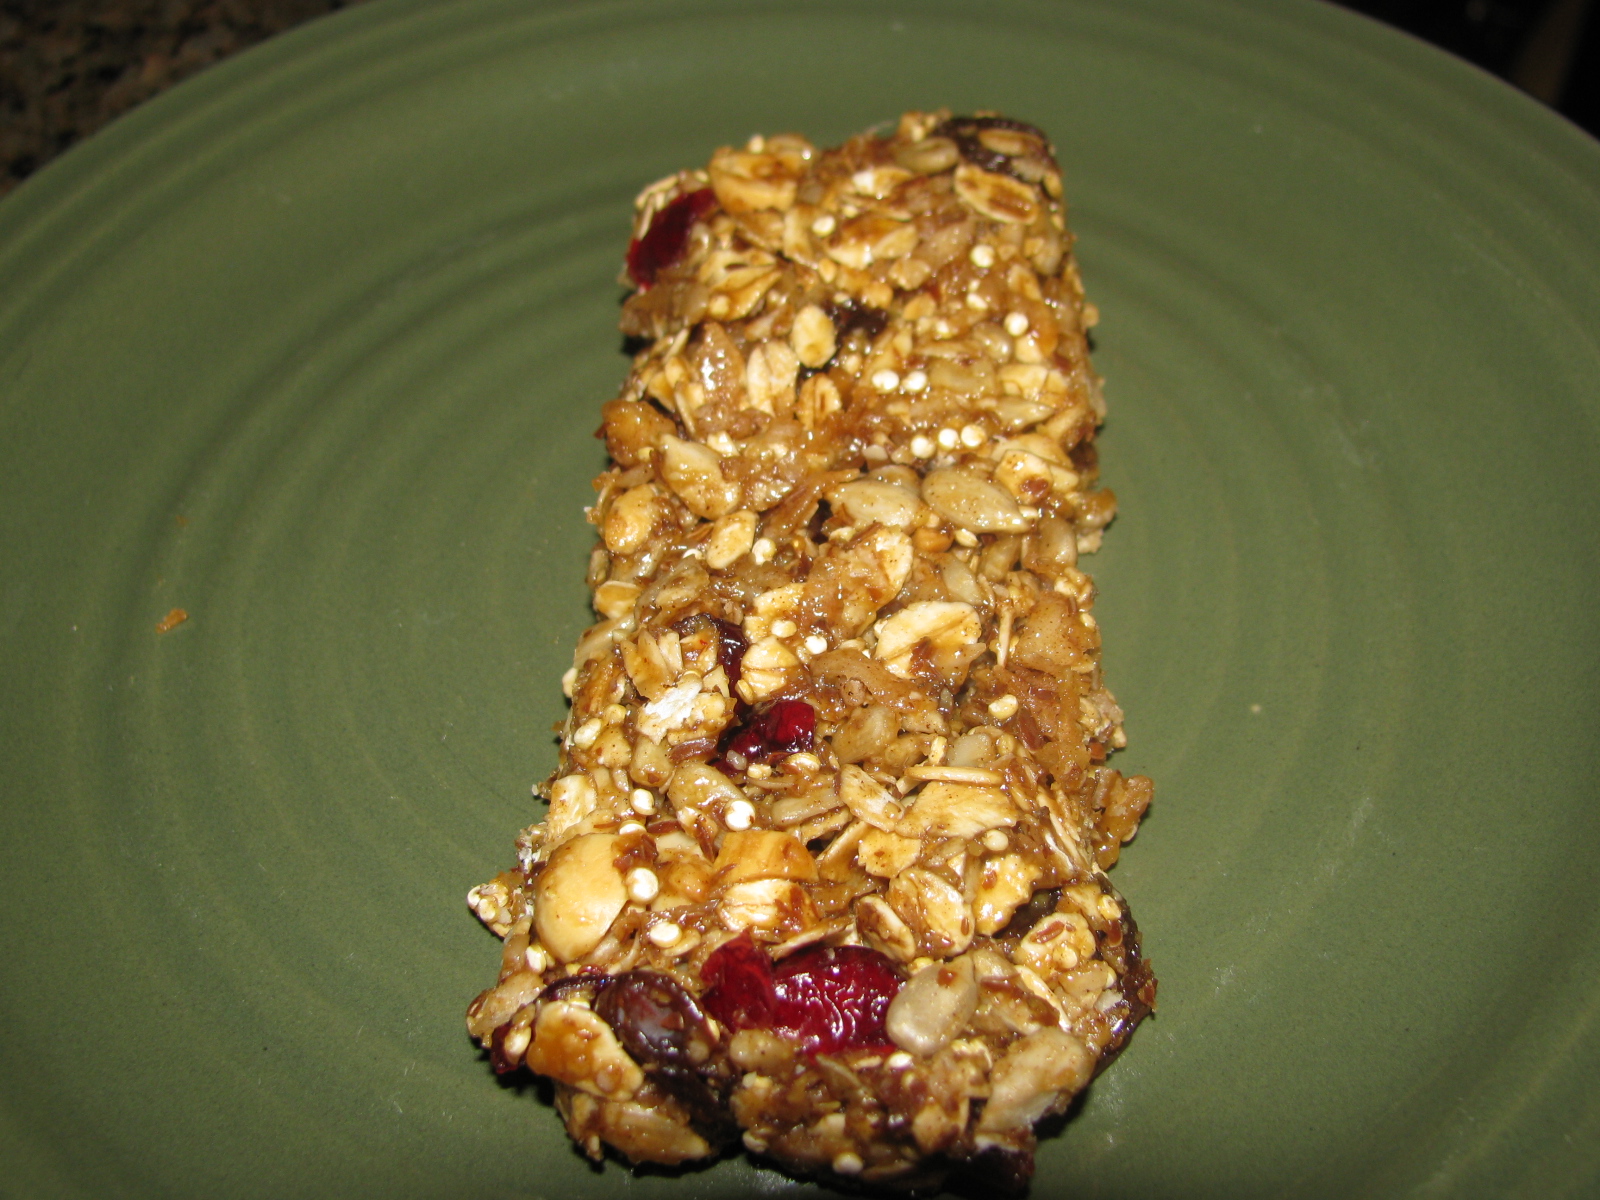
 We made this dish on Saturday. It was great. I paired it with fried rice and a fruit platter . The family enjoyed  the leftovers today. The chicken marinade was perfect and the fried rice was the perfect addition to this meal. 

Hawaiian BBQ Feast as seen on The Best Recipes EVAR
The Meat and Marinade
·         Boneless skinless Chicken Thighs, beef short ribs, or any kind of meat you want to use.
·         1 C. packed light brown sugar
·         1 C. soy sauce (I use the Aloha Shoyu Soy Sauce)
·         4-5 cloves of garlic chopped
        1 1/2 T. fresh ginger root chopped
·         1/4-1/2 large onion sliced
Marinade Directions
1.    In a bowl, mix the brown sugar and soy suace together. Keep mixing until almost all the sugar is dissolved in the soy sauce.
2.    Add in the garlic, ginger and onion and mix.
3.    Let the mixture sit for a few minutes.
4.    Put meat into a zip lock bag and pour mixture over it. (You can freeze the meat in the marinade at this point and when it is thawed the marinating time is over)
Depending on how much meat you have you may need to make more marinade and split this into 2 different bags. Let this marinade for at least 4 hours.
For the Grill
·         13×9 Pyrex dish or smaller depending on the amount of meat you have
·         1 stick of butter (trust me this makes the chicken so much better..however this recipe is great without it)
·         4-5 green onions sliced small
Grilling Directions
1.    Place Pyrex dish on the hot grill if you have room otherwise you can put it in the oven.
2.    Add the butter to the Pyrex so it starts to melt.
3.    Add the meat to the grill and cook to perfection.
4.    When the pieces of meat are done place them in the Pyrex to let swim in buttery goodness until all are done and add the green onions.

 For the Fried Rice
 
Fried rice made in a frying pan
For 1 to 2 portions
1 to 1 1/2 cups cooked plain rice
1 cup chopped green onion
1 cup chopped vegetables of your choice (see notes below)
1/2 to 1 cup chopped roast pork or ham
2 medium eggs
salt
pepper (white pepper is more traditional here, but black pepper is fine)
2 tsp. to 1 Tbsp. soy sauce I prefer Aloha Shoyu soy sauce as it is not as strong for our taste
cooking oil
optional: sesame oil
Equipment needed: A large frying pan (at least 28cm / 11” in diameter), spatula

Before you start cooking fried rice, you need to have everything ready to go.
First, the aromatic vegetables - the vegetables that add lots of flavor and
umami to your food. Here I have kept it simple and just used green onion (about
1 stalk), chopped up. You could also use regular onion, a little fresh ginger
and/or chopped garlic. If you want spicy fried rice, use a little chopped hot
red chili pepper, or dried chili pepper flakes or powder.

Next are the non-aromatic vegetables. I like to add at least a cup’s worth per
1- 1 1/2 cups of cooked rice. You can use any vegetables you like that are not too watery. Here I have used peas and carrots but  sweet bell pepper and zucchini work well too.

I also use some chopped precooked meat, which adds to the flavor - about 1/2 a cup’s worth per 1 to 1 1/2 cups of rice. Roast pork is nice, as are tiny whole shrimps or chopped shrimp, chicken, turkey, - anything you have. I’ve used some leftover roast ham here.
Eggs are a must-have in fried rice for me. Two medium or small eggs or 1 large to extra-large egg is enough. Beat it lightly with a pinch of salt added.
You’ll need some precooked rice of course. 1 to 1.5 cups will serve 1 person (or 2 people with small appetites) as the main dish of a meal. Leftover plain rice is great for fried rice, but make sure it’s hot or at least warm, not ice cold straight out of the fridge, which will cool down the pan and make the rice go greasy.
The easiest way to warm it up is to pop it in the microwave for a minute or two. If you don’t have a microwave, pour some boiling water over the rice and then drain it off very well before using.

If you are cooking rice fresh for the purpose of making fried rice, use a little less water than you might normally do, to have cooked through but firm and separate grains.
Finally, some seasonings and things: oil for cooking, salt, pepper and soy sauce. You could add other things here but let’s keep it simple.
Once all the components are ready, it’s time to start cooking. The cooking will go quite fast! Heat up the large frying pan - over high heat if you are using an electric heat source, medium to medium-high if you’re using gas. (If you have a very high heat output induction cooker, adjust the heat accordingly; the food should cook fast but not burn as soon as you add it to the pan!) Spread a little bit of oil on the bottom of the pan. The pan is hot enough when you drizzle a little bit of the beaten egg in it and it cooks right away, Pour in the beaten egg and spread it around the bottom of the pan, as if you were making an omelette.

Break up the egg rapidly to make scrambled eggs.
When the eggs are nearly set but a bit runny, take them out of the pan, clean
off the pan if needed with the end of your spatula or a wadded up paper towel, and add a little fresh oil. Put the pan back on the heat and add the non-aromatic vegetables and cut up meat. Let cook for a couple of minutes, stirring gently.
Add the green onion and/or other aromatic vegetables you’re using. Stir around a couple more minutes, using the whole surface of the pan. Season with a sprinkle of salt and pepper. It should smell very good now.
Add the warm rice and spread it thinly over the bottom of the pan. Break up any clumps with the end of the spatula. When the rice is sizzling on the bottom, stir it up - but let the heat of the pan do it s work before you stir like crazy. If the rice gets stuck to the pan a bit, scrape it off as you go along.(I prefer not to add more oil at this point, since it makes the rice greasy.)
Re-add the scrambled egg and stir.
Clear a space on the bottom of the pan. Pour the soy sauce directly on that hot spot on the pan - it will sizzle. Immediately mix the soy sauce into the rice. This method ensures that the soy sauce flavor gets distributed more evenly instead of getting absorbed by the rice grains in one spot, and also adds a bit of toasty flavor to the whole thing.

Taste, and season with pepper and additional salt if needed. If you prefer, you can add a few drops of sesame oil at this point. Serve immediately while piping hot. (Cold fried rice is fine, but hot fried rice is much, much better.)
key points to making fried rice in a frying pan:

The most important rule: Do not overcrowd the pan! That is the sure way to make sticky, greasy fried rice. For a large 11 to 12 inch (28-30cm) frying pan 3 cups of rice worth of fried rice is probably the maximum you can do successfully at one time.
Have everything cut up and ready to go before you start cooking.                                                            
Warm up the rice before using it. Don’t use ice cold rice
If using an electric heat source, use the highest setting you can achieve.   If using gas, use medium-high heat. Make sure your frying pan is hot, and that you use the entire bottom surface of the pan.
Cook the eggs first, then take them out of the pan, to have soft eggs rather than hard little egg-bullets.Cook the vegetables and meat/shrimp through and season before adding the rice. If the rice gets a bit stuck to the pan, just scrape it off; adding more oil to the rice will make it greasy.
 “Sizzle” the soy sauce on the bare surface of the frying pan, rather than pouring soy sauce onto the rice. Variations You can vary fried rice by using different aromatic vegetables, different protein, and so on. As I said above, fried rice is a great way to use up leftovers! Here are some ideas:
Use about 2 tablespoons of finely chopped fresh ginger instead of the green onion.
Finely slice 2-3 cloves of garlic, and fry them until soft. Remove the garlic and cook the rice in the garlic-scented oil. Add the garlic back at the end.
Use finely chopped white onion and sauté it in butter instead of oil. Omit the soy sauce and just season with salt and pepper. Add some grated Parmesan cheese and dry oregano at the end.
Precooked, finely diced bamboo shoots, water chestnuts are great crunchy additions to fried rice.


Saturday, March 31, 2012

Healthy Granola Bars


  My daughter requested that I get this recipe from a friend's mother. Turns out she found it on The Sisters Cafe. It is a great recipe and comes together quickly. I have substituted the peanutbutter for almond butter with great results.
Healthy Granola Bars
2 cups old-fashioned oats
1/2 c. flax seed, milled
1/4 c. quinoa
3/4 c. shelled sunflower seeds
1 c. chopped nuts (any kind or combination)
1 c. shredded coconut
1/2 to 1 tsp. cinnamon (desired amount)
1/2 tsp. salt
1/2 c. brown sugar or organic agave nectar
1/2 c. honey
2 tsp. molasses
4 T. butter
2 tsp. vanilla
4 T. peanut butter (we used a scant 1/2 cup)
1 c. dried, chopped fruit (optional) (We used craisins and raisins)
1. mix first 8 ingredients together and place on a rimmed baking sheet. toast in a 400 degree oven for 12 minutes. stir and let cool at least 15 minutes.
2. bring next 4 ingredients to a simmer, stirring continuously. stir in the vanilla and peanut butter and cool for 2-3 minutes, stirring occasionally.
3. put the toasted ingredients and dried fruit in a large bowl and pour the liquid ingredients over it. mix very well.
4. place parchment or wax paper in the rimmed baking sheet and butter the top side, then place the granola bar mixture in the pan. put another butter sheet of paper, buttered side down, on top of the mixture and press down. roll with a rolling pin to make it very tight, smooth, and even.
5. let set for 2-3 hours and cut into desired bar size. makes about 20-24 bars. package in snack size bags or an airtight container. if not using within next few days, store in freezer. they keep very well, and thaw quickly. (really yummy frozen, too!)